

Night Vision Truck Cameras: How to Test Image Quality
A night vision truck camera should be selected by the image it delivers in the fleet's working conditions. A bright picture in a stationary demonstration does not establish that the camera can show a moving person, a trailer edge or another detail the driver needs at night.
For B2B buyers, the practical question is whether the selected camera, mounting position, monitor and recorder meet a defined viewing task. This guide explains how to compare low-light and infrared approaches and build a repeatable night test.
Define what the image needs to show
Separate driver visibility from recorded evidence. A rear camera may need to show the area behind the truck during maneuvering. A recording camera may need to preserve details that staff can review after an event. The same image may not meet both objectives.
Write the viewing task in observable terms: target type, relevant distance, field of view, movement and light conditions. Avoid a requirement such as “excellent night vision,” which different suppliers can interpret differently.
For example, a fleet might need to distinguish a loading-bay edge and an approved test target at specific positions. If readable number plates are required, state that as a separate test objective rather than assuming a general-purpose camera will achieve it.
Understand low-light color, infrared and thermal imaging
Low-light color cameras use available visible light. Their results depend on the sensor, lens, exposure and image processing. When the scene becomes too dark, usable color detail may be limited.
Near-infrared illumination provides light that a compatible camera can use for a grayscale night image. Thermal imaging forms images using a different part of the infrared spectrum and should be evaluated against its own task and limitations.
Axis's IR in Surveillance white paper explains the distinction between low-light visible imaging and near-infrared illumination. These are general imaging principles, not evidence that an AlwayCare model has a particular feature.
| Approach | What to check on the truck |
|---|---|
| Low-light color | Required detail with the actual available lighting |
| Near-infrared night mode | Illumination coverage, reflections and target visibility |
| Thermal imaging, if proposed | Useful detail for the stated task and the selected model |
| Combined configuration | Which view the driver sees and which streams are recorded |
Ask for the exact camera's specifications and original sample recordings. Marketing names such as “starlight” should lead to measurable questions, rather than substitute for a test.
Test movement, not only a stationary scene
In low light, a camera may use a longer exposure to make the image brighter. Movement during that exposure can blur the detail the fleet needs.
Axis's Lightfinder technical paper explains the relationship between limited light, exposure time and motion blur. When comparing truck cameras, use that principle to inspect moving detail in the selected configuration.
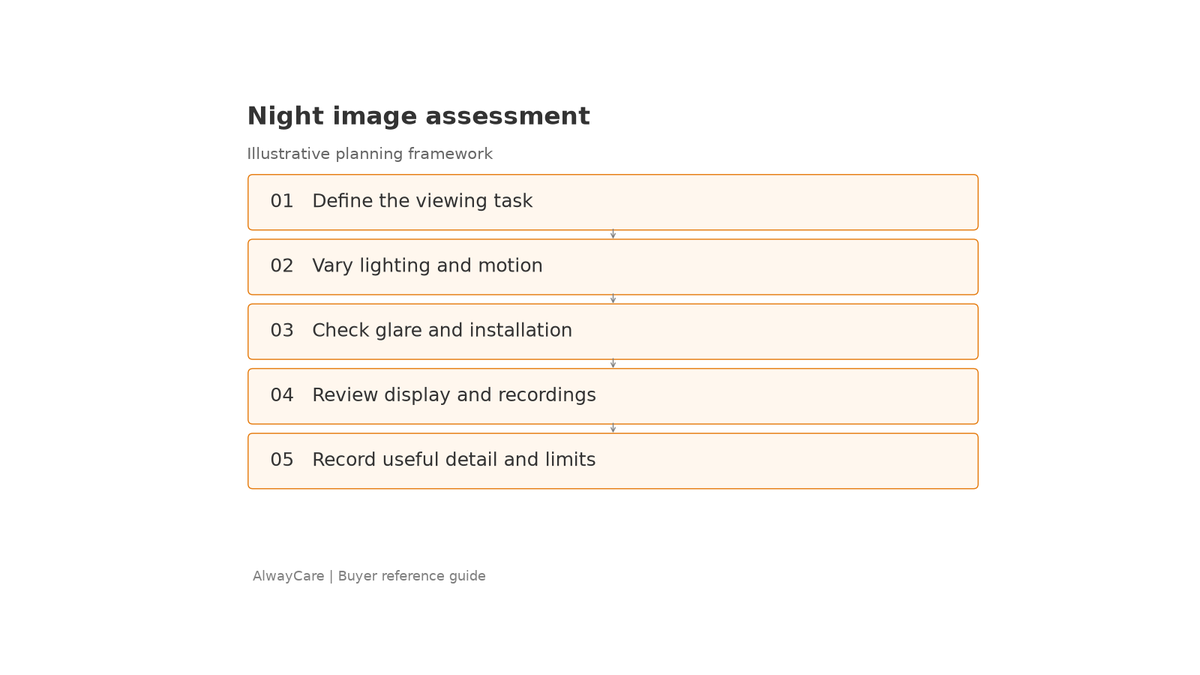
Begin with a stationary vehicle and an approved test procedure. Assess relevant target movement in a controlled setting. Any vehicle-movement test should follow the site's safety arrangements.
Review recorded frames as well as the live picture. Check whether the required shape or detail remains distinguishable. Keep the test geometry and lighting consistent when comparing products.
Do not use resolution as the only comparison. More pixels do not resolve detail that has already been lost to blur, glare or obstruction.
Check glare and infrared reflections
Include headlights, reflective surfaces and the truck's own lights where relevant. Look for washed-out areas that hide the target.
A nearby vehicle panel, window or reflective load can change the image when infrared illumination is active. Dirt or water on an optical cover can also affect the result. Axis documents these effects in its image-quality troubleshooting guide.
Test the camera in its final mounting position. A sample taken before fitting may not reveal a reflection from the bumper or bodywork. Record whether changing the angle improves the required view without creating another blind area.
If wide dynamic range is offered, compare actual footage with bright and dark areas in the same scene. Confirm whether the necessary detail is visible while targets move. The label alone does not establish the result.
Compare the complete display and recording path
Use the monitor and recorder intended for the project. Confirm supported video format, image orientation, channel configuration and recorded output.
A demonstration screen may differ from the in-cab display. Similarly, an original camera image may look different after recording and compression. Evaluate the files that fleet staff will actually retrieve.
For compatibility questions, use AlwayCare's AHD vs IP Vehicle Cameras guide. Check the proposed camera, cable, monitor and recorder together before approving the system.
Use a simple night-test record
| Field | Record for each camera configuration |
|---|---|
| Viewing task | The target and detail needed |
| Test geometry | Mounting position, angle and target location |
| Lighting | Available lights and their direction |
| Motion | Stationary or controlled movement conditions |
| Image path | In-cab view, local recording or exported file |
| Configuration | Model, settings and software version where applicable |
| Finding | Visible detail, blur, glare, obstruction or reflection |
| Decision | Pass, change and retest, or unsuitable for the task |
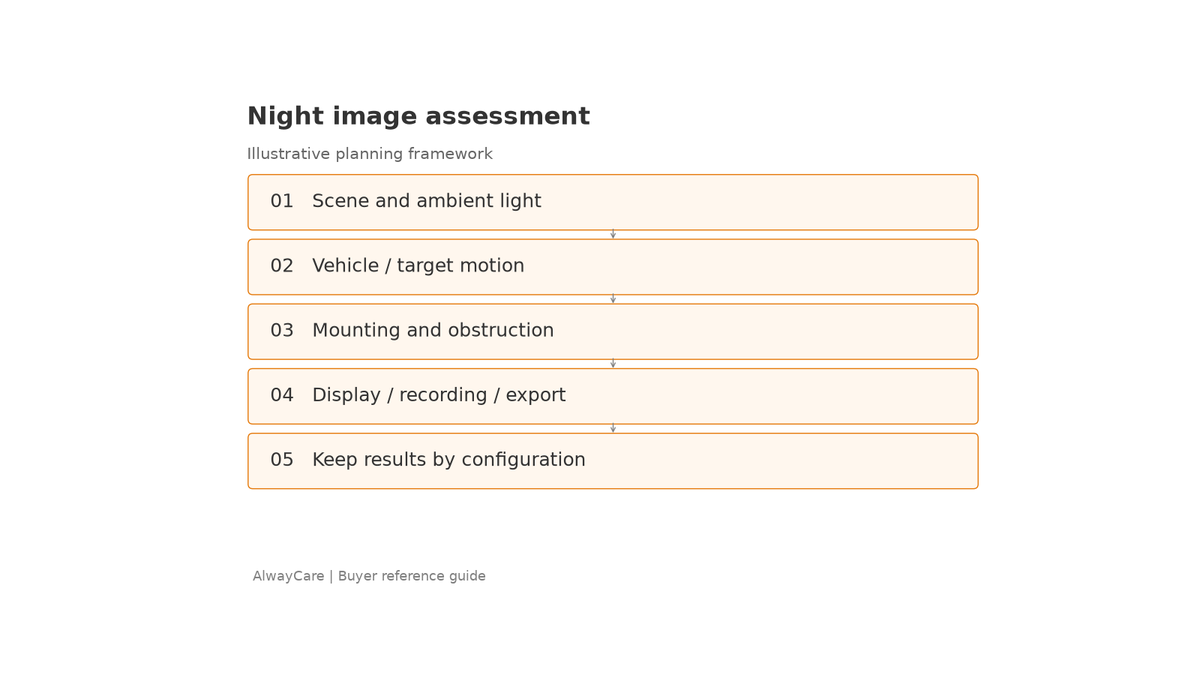
Repeat relevant tests after changing mounting or settings. Keep sample files with the record so another buyer or technician can review the basis for acceptance.
Apply the same method across operating regions
For customers in Europe, North America, South Africa and South America, collect actual route and worksite conditions. If the fleet uses unlit loading areas, include them. If it works under strong yard lighting or opposing headlights, test those conditions too.
Regional labels should not replace an environmental specification. Describe temperature, contamination, cleaning practices and lighting from the project. Verify the selected model's environmental ratings and maintenance instructions separately from image performance.
AlwayCare's vehicle camera range can be reviewed against that specification. Share the required view and representative night conditions with AlwayCare to discuss a camera and recording configuration for testing.
Frequently asked questions
Does infrared night vision provide a color image?
Near-infrared night imaging commonly uses grayscale. Confirm the selected camera's modes and test the output the fleet will use.
Does a brighter image always mean better night performance?
No. Brightness can coexist with motion blur or glare. Judge whether the required detail remains visible under the test conditions.
Can a night camera replace the driver's required visibility checks?
Treat it as part of the vehicle's visibility arrangement. Operating procedures, mirrors and other required controls still need to be considered for the actual vehicle and task.